When you start a new project, you always want to start with a review of the foundational pieces: corset, petticoats, and chemises, and then you ask yourself the following questions:
- What do I need?
- Do I have something from a different era that will suffice or are the shaped so radically different that I need to make a standalone piece?
- Do I really, really need to make another [fill in the blank].
In this particular case, since I’m going to be working my way through the entire book, the answer is in the form of a question, “What is the first project?” In this case, it’s easy-peasy: it’s the first project in the book: “Basic Under-Petticoat.”
Step 1: Find myself some heavy linen.
I have some 7 oz. Spruce green, heavy-weight linen. I’ve been planning on making some Outlander cosplay entirely out of linen, and this seems like a good place to start. I have bleached linen, but it’s only 5.3 oz. Linen and thus, not heavy enough for this project.
Step 2: Measure from my natural waist to lower calf.
I got 33 inches.
Step 3: Cut two pieces 33 inches long by the width of the fabric.
Check; trim fabric width down to 50 inches from 60 inches, for a finished skirt width of about 98 inches, check.
Step 4: Sew. By. Hand. [hashtag #HandsewingInsanityProject ]
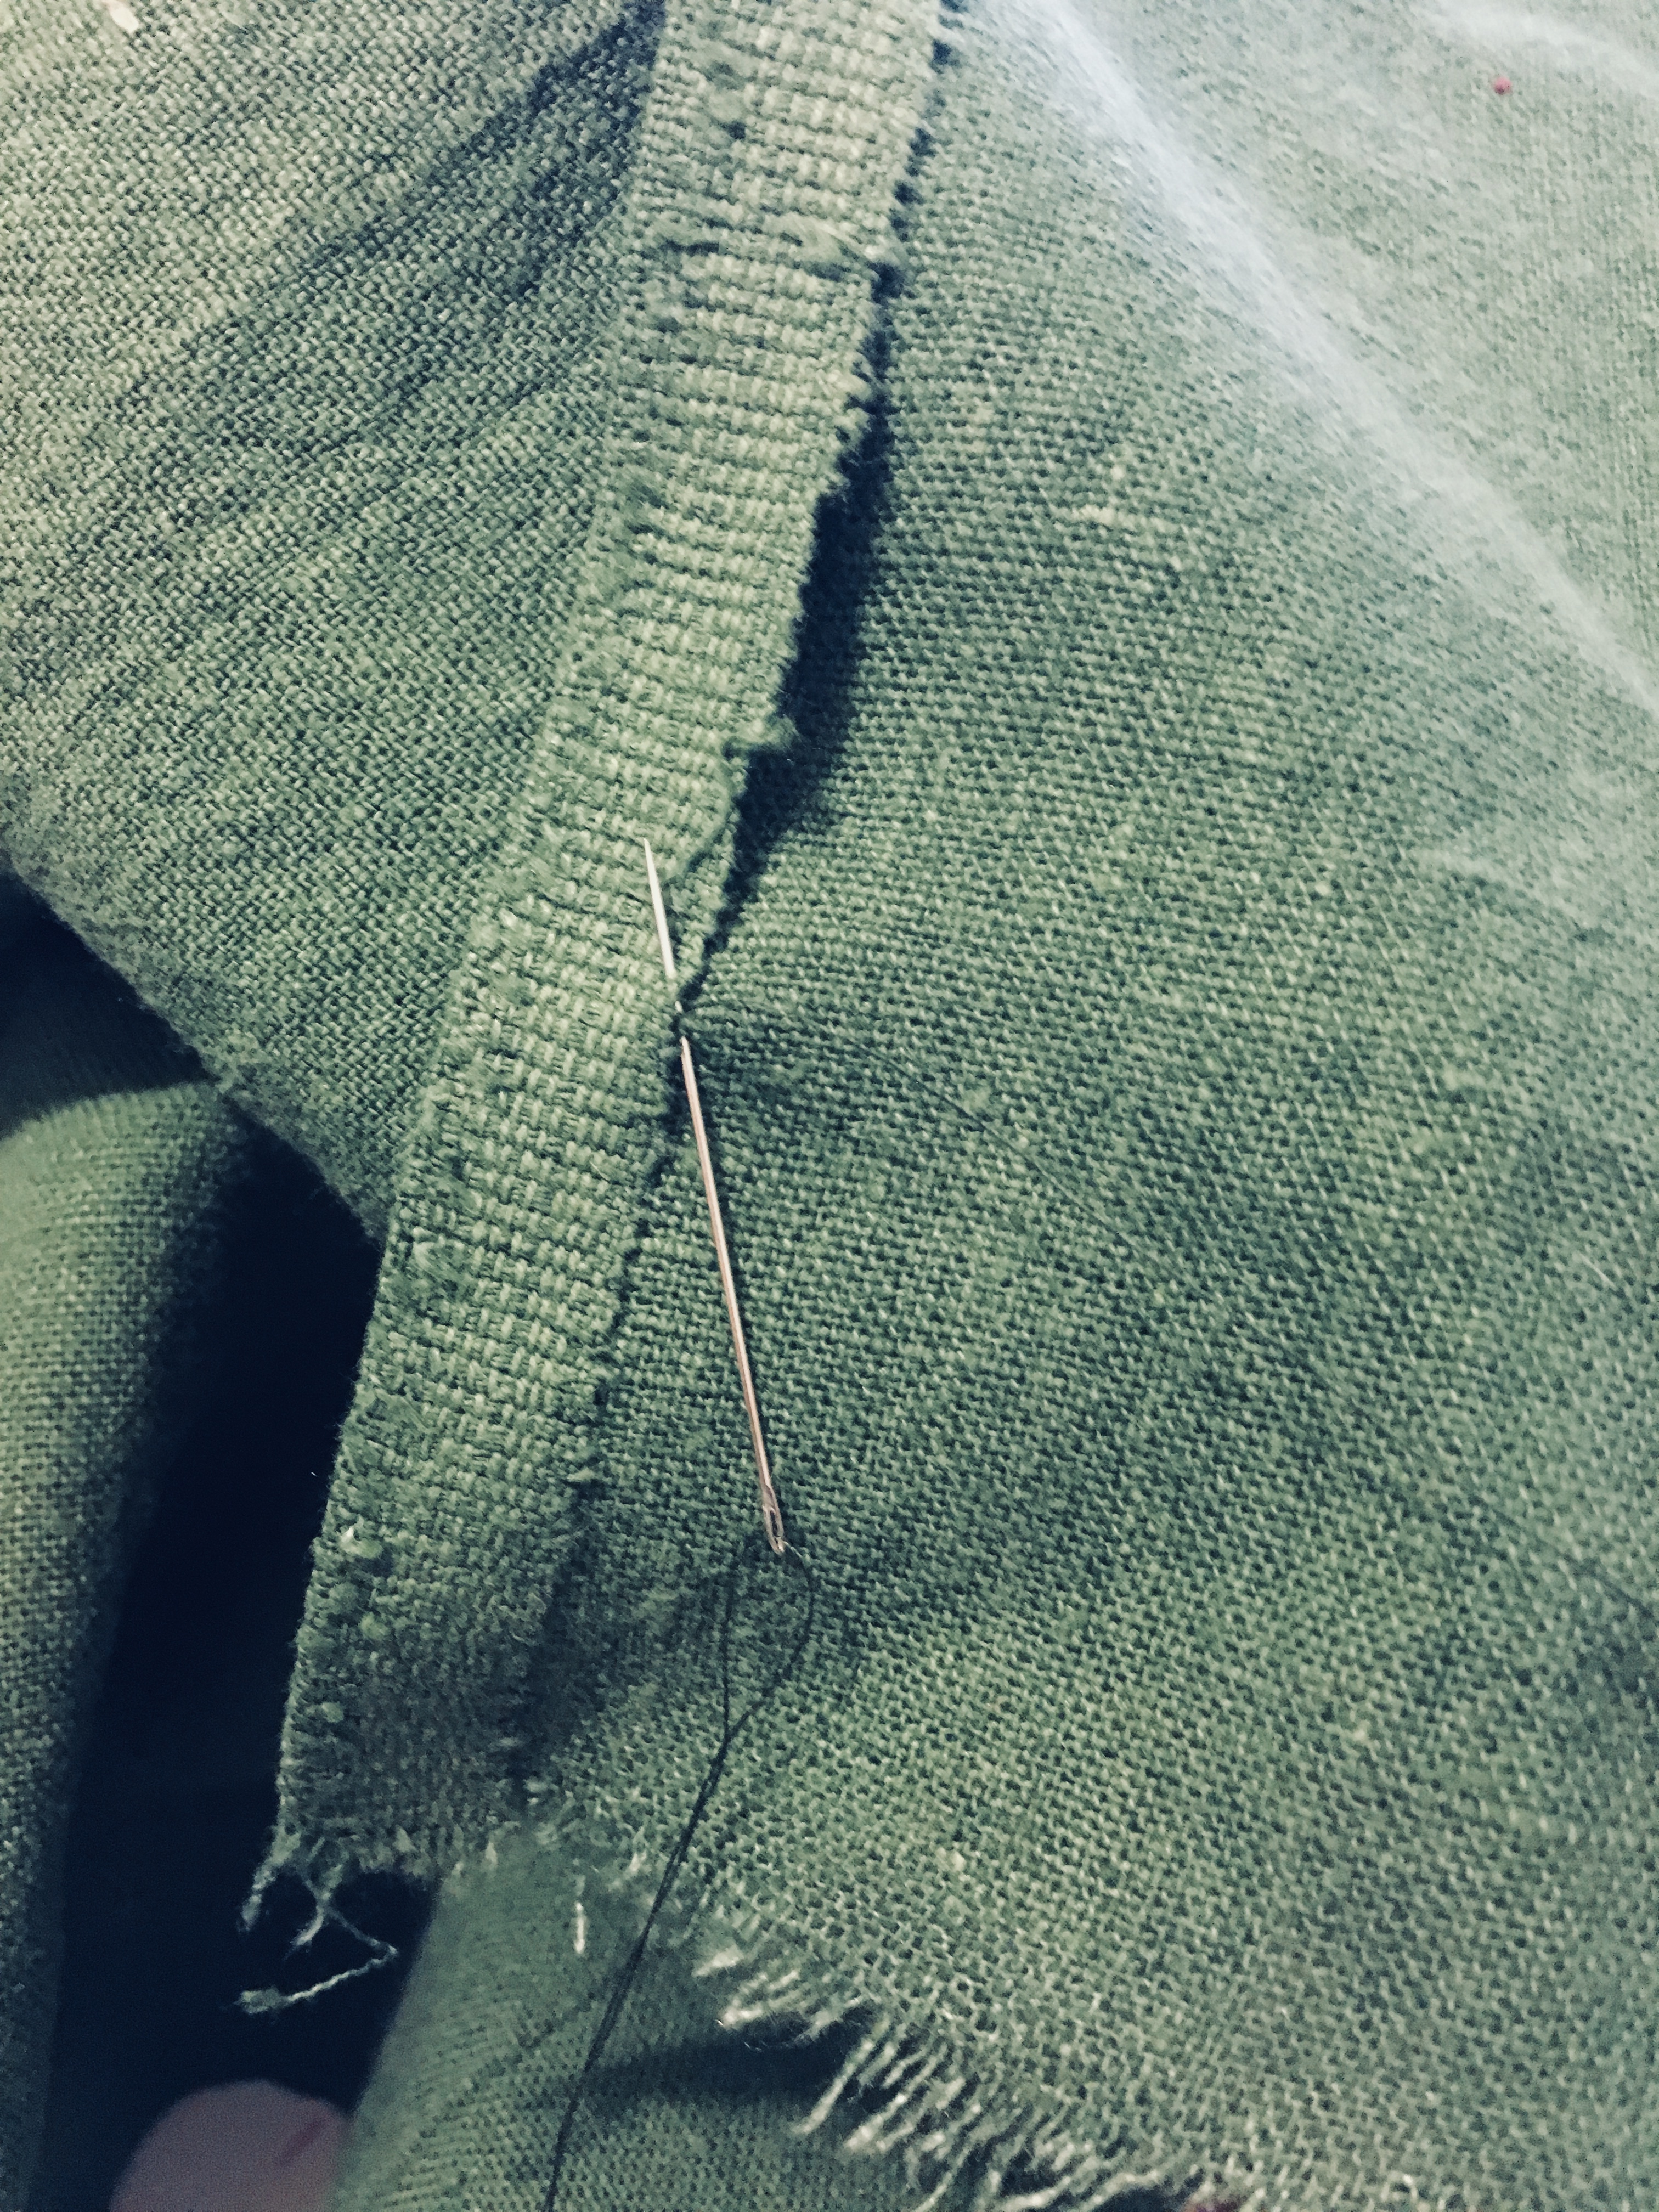
I’m using the mantua maker’s seam on the raw edges of one of the side seams and the other I’ve used the selvage.
Step 5: err …take pictures while sewing

I’ve played a little bit with the color temperature of my iPhone photo in a vain attempt in try and get something closer to the actual fabric. Alas, it’s a fail. And yes, since this is an exercise in using what I’ve got on hand, the thread is a bit too green for the fabric.
You’ve probably noticed that the edges of the fabric are offset. This was purposefully done. I used the mantua maker’s seam to finish the cut edge side seam. The seam finish is very similar to a traditional flat feld seam. The book explains it better than I can. I will add that requires a lot of pins to neatly hold the fabric in place while you’re sewing. I like the look of the finished seam as it is very small and very flat. I plan on using it for my chemises and smocks moving forward as it should make the armscye gussets less bulky and thus, much more comfortable.
I switched to a black silk thread on my other side seam. It’s a little easier to use a single strand, and not doubled. I tried doubled thread, but it kept twisting up on itself and annoying me.
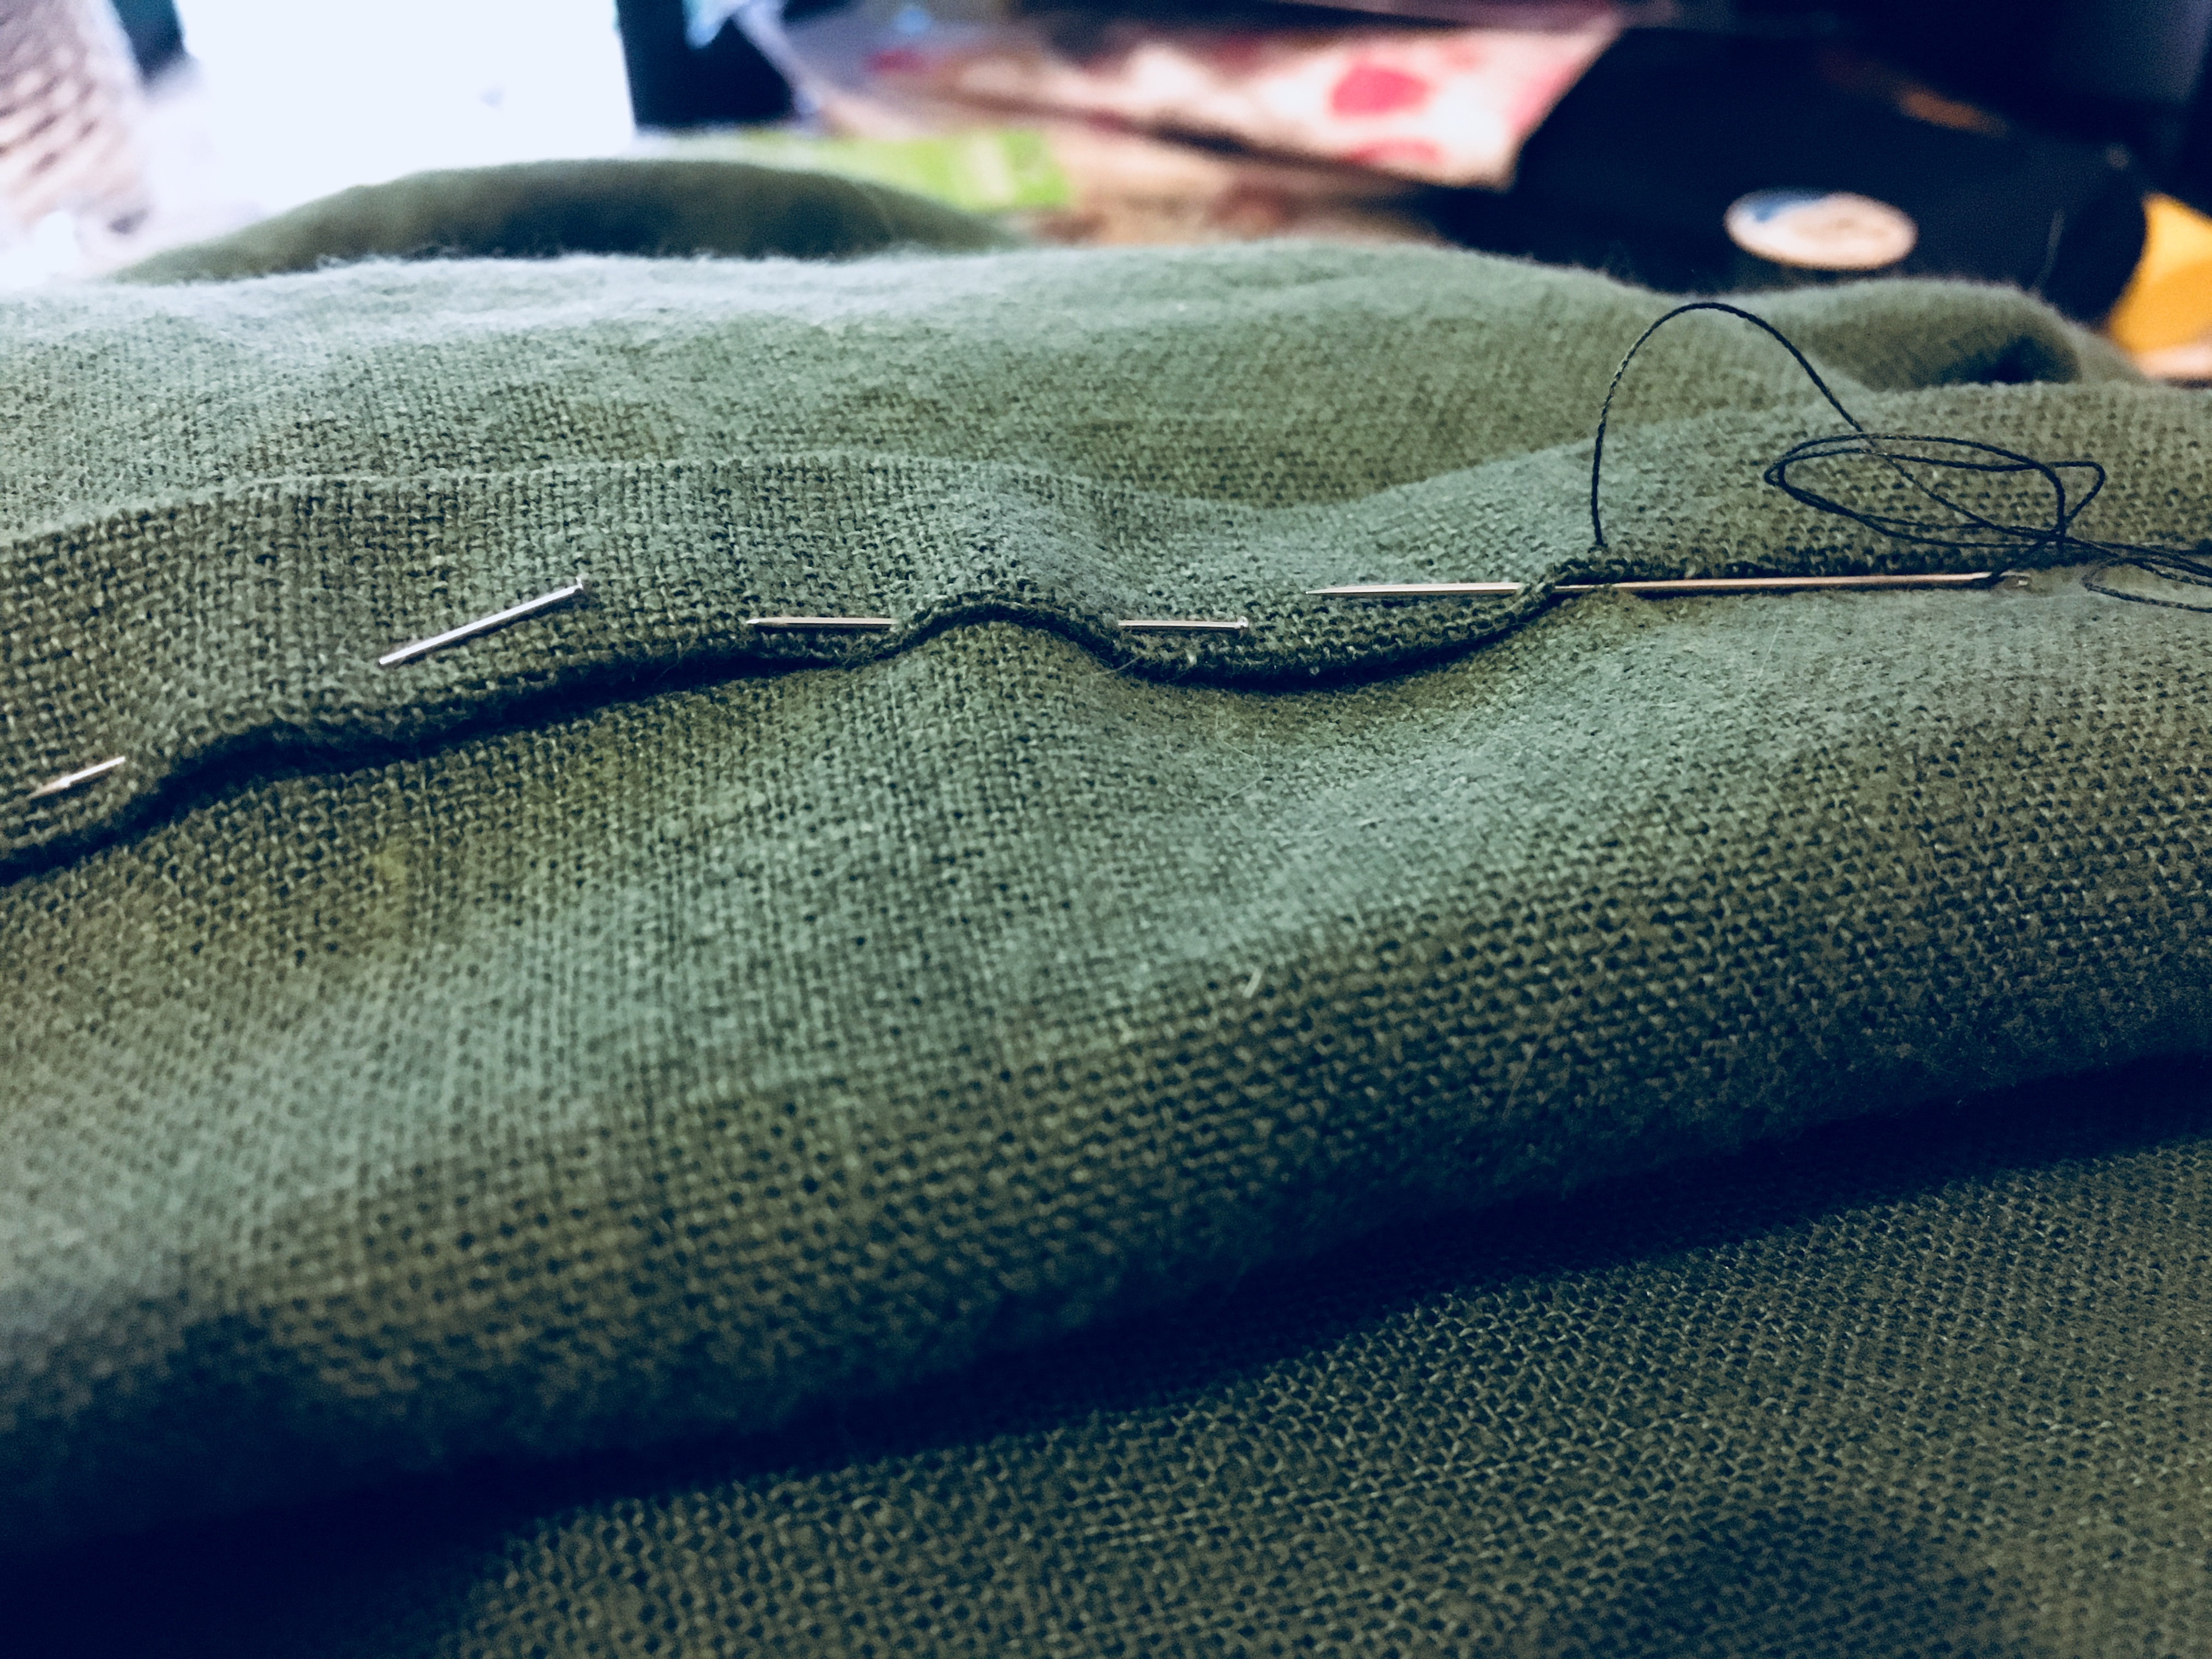 Stitching the double-turned 1/2 inch-ish hem. I eyeballed it and then pinned it to death, stabbing myself a few times in the process.

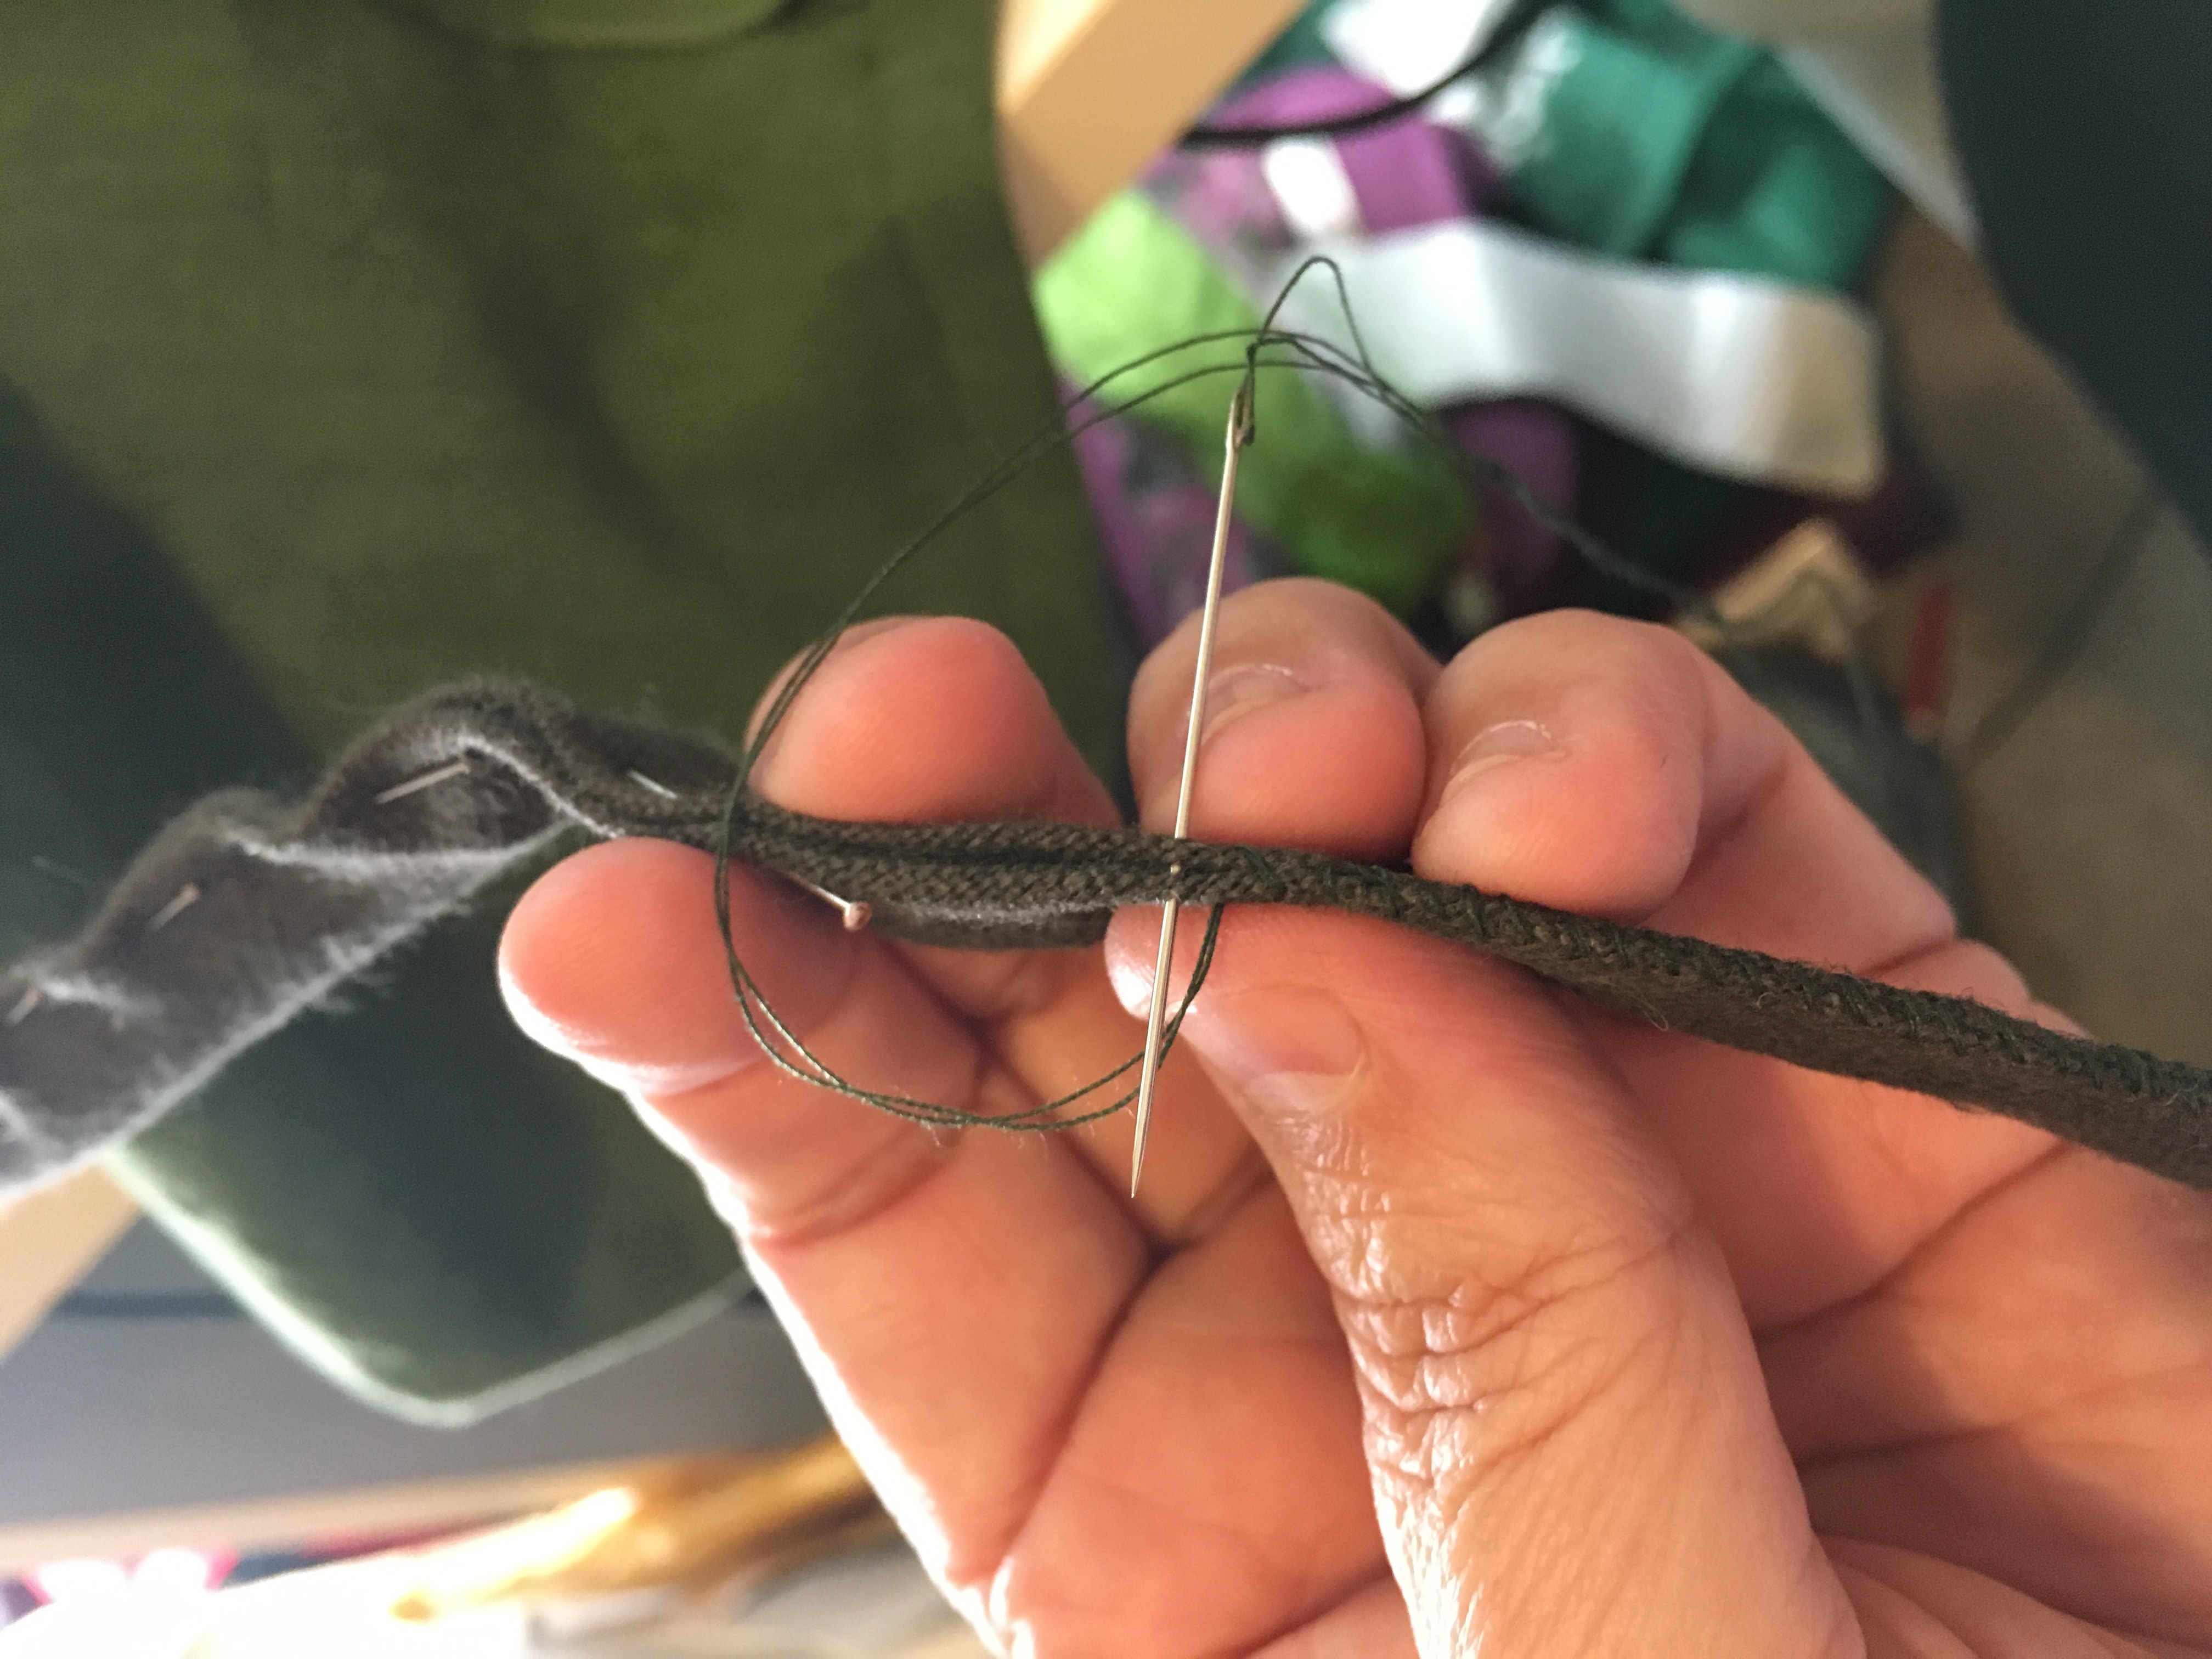
Adding bias tape to serve as the waistband with lots and lots of straight pins to hold it and the pleats underneath in place.
The book calls for 3/4 to 1 ” wide linen or cotton tape for the waistband. As I did not have any, only some 1/2 ” wide twill tape left over from my last Trunk Club, and I already had other plans for it, so I used the linen bias tape I made for the 18th-century cloak class I took at Costume College 2016. [It’s the same fabric that I’m going to be using for my English gown. This way if the skirts slip, it won’t be quite as noticeable.]

Step 6: Model finished project.

As I totally stuck at selfies of any kind and my husband was out running errands to prepare of a business trip, I popped my new finished onto my dress form that we nicknamed “the chick” many moons ago. It’s currently padded out to fit my BFF, so it’s smaller than my measurements, hence the droopy waistband. That extra green fabric that hanging below is a cotton blanket that is being used to pad the chick out and impatient me didn’t bother to pin up out of the way.
Step 7: Conclusion and nitpicks.
Somewhere in my bio, I believe that it states that my mother taught me how to sew as an attempt to teach me patience, and probably what the results of perseverance will bring forth when you chose to apply yourself. When it comes to sewing, I am a speedy girl. It’s one of the reasons why I own a 1/2 horse-power industrial straight machine. I just want to “getter done.” What I am going to suggest to everyone, regardless of the years of sewing under their belt, is slow down and take the time to read the instructions before launching off into the deep end. I completely glazed over the instructions for cutting the fabric and it wasn’t making any sense until I went back and reread the cutting instructions.
All and all, this is a very easy and straightforward project. The instructions are well written, and for the visual group, the photos are worth a thousand words. Once you’ve mastered this project, you’re ready to tackle the next project: the English Gown Petticoat.
I have been browsing on-line more than three hours nowadays, but I by no means discovered any attention-grabbing article like yours.
It is pretty worth enough for me. In my view, if all site owners and bloggers made excellent content material as you did, the internet might be a lot more useful than ever before.