Posted on Leave a comment

Mrs. Maisel – “We got the Rabbi” Pink Coat: part 1

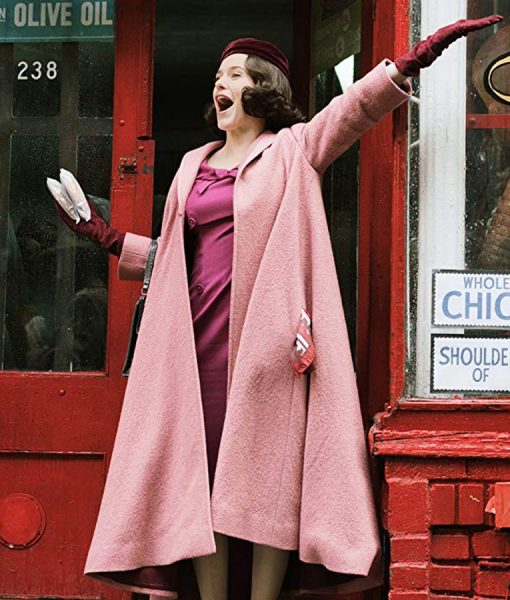
As I stated in my introduction to the Gingham suit project, which somewhat ironical will get finished after this project, every fan of Amazon’s The Marvelous Mrs. Maisel has their favorite outfit or two from each of the three seasons. Most get added to the bucket list, some get made as close to screen accurate as possible, and some become inspirations for a variation on the theme, but everyone has a favorite. Mine is the black and white gingham shorts suit. My second favorite is her iconic pink wool swing coat.

What’s not to love about a flowing winter coat that comes down past your knees that just happens to be your favorite color, right? Let’s review the coat and the pattern from which it’s going to be recreated.

I am extremely grateful that the Simplicity Pattern Company has chosen to revive some of their vintage patterns. It makes it easier to make something with a solid base to start from than having to cobble two or three patterns together to come with something. Simplicity’s 8509 “Misses Vintage Lined Coat…” fits the bill to a tee. It even has an option to add pockets, which I’m going to do because a girl needs her pockets. Where else are you going to tuck your silk scarf and gloves? [Yes, yes, I realize that Midge would have put her gloves in her handbag, but I enough stuff in my bag already and the coat pocket is the only place that I can put my gloves and have them when and where I need them.]

So what are the challenges that I am facing with this project?

  • Grading the pattern up four sizes. Unfortunately, I am overweight, very overweight, and most store-bought patterns are not large enough for me.
  • Making a toile or muslin. I hate, hate, hate spending the time having to make a fitting garment to prove that my rusty grading skills are still on the money.
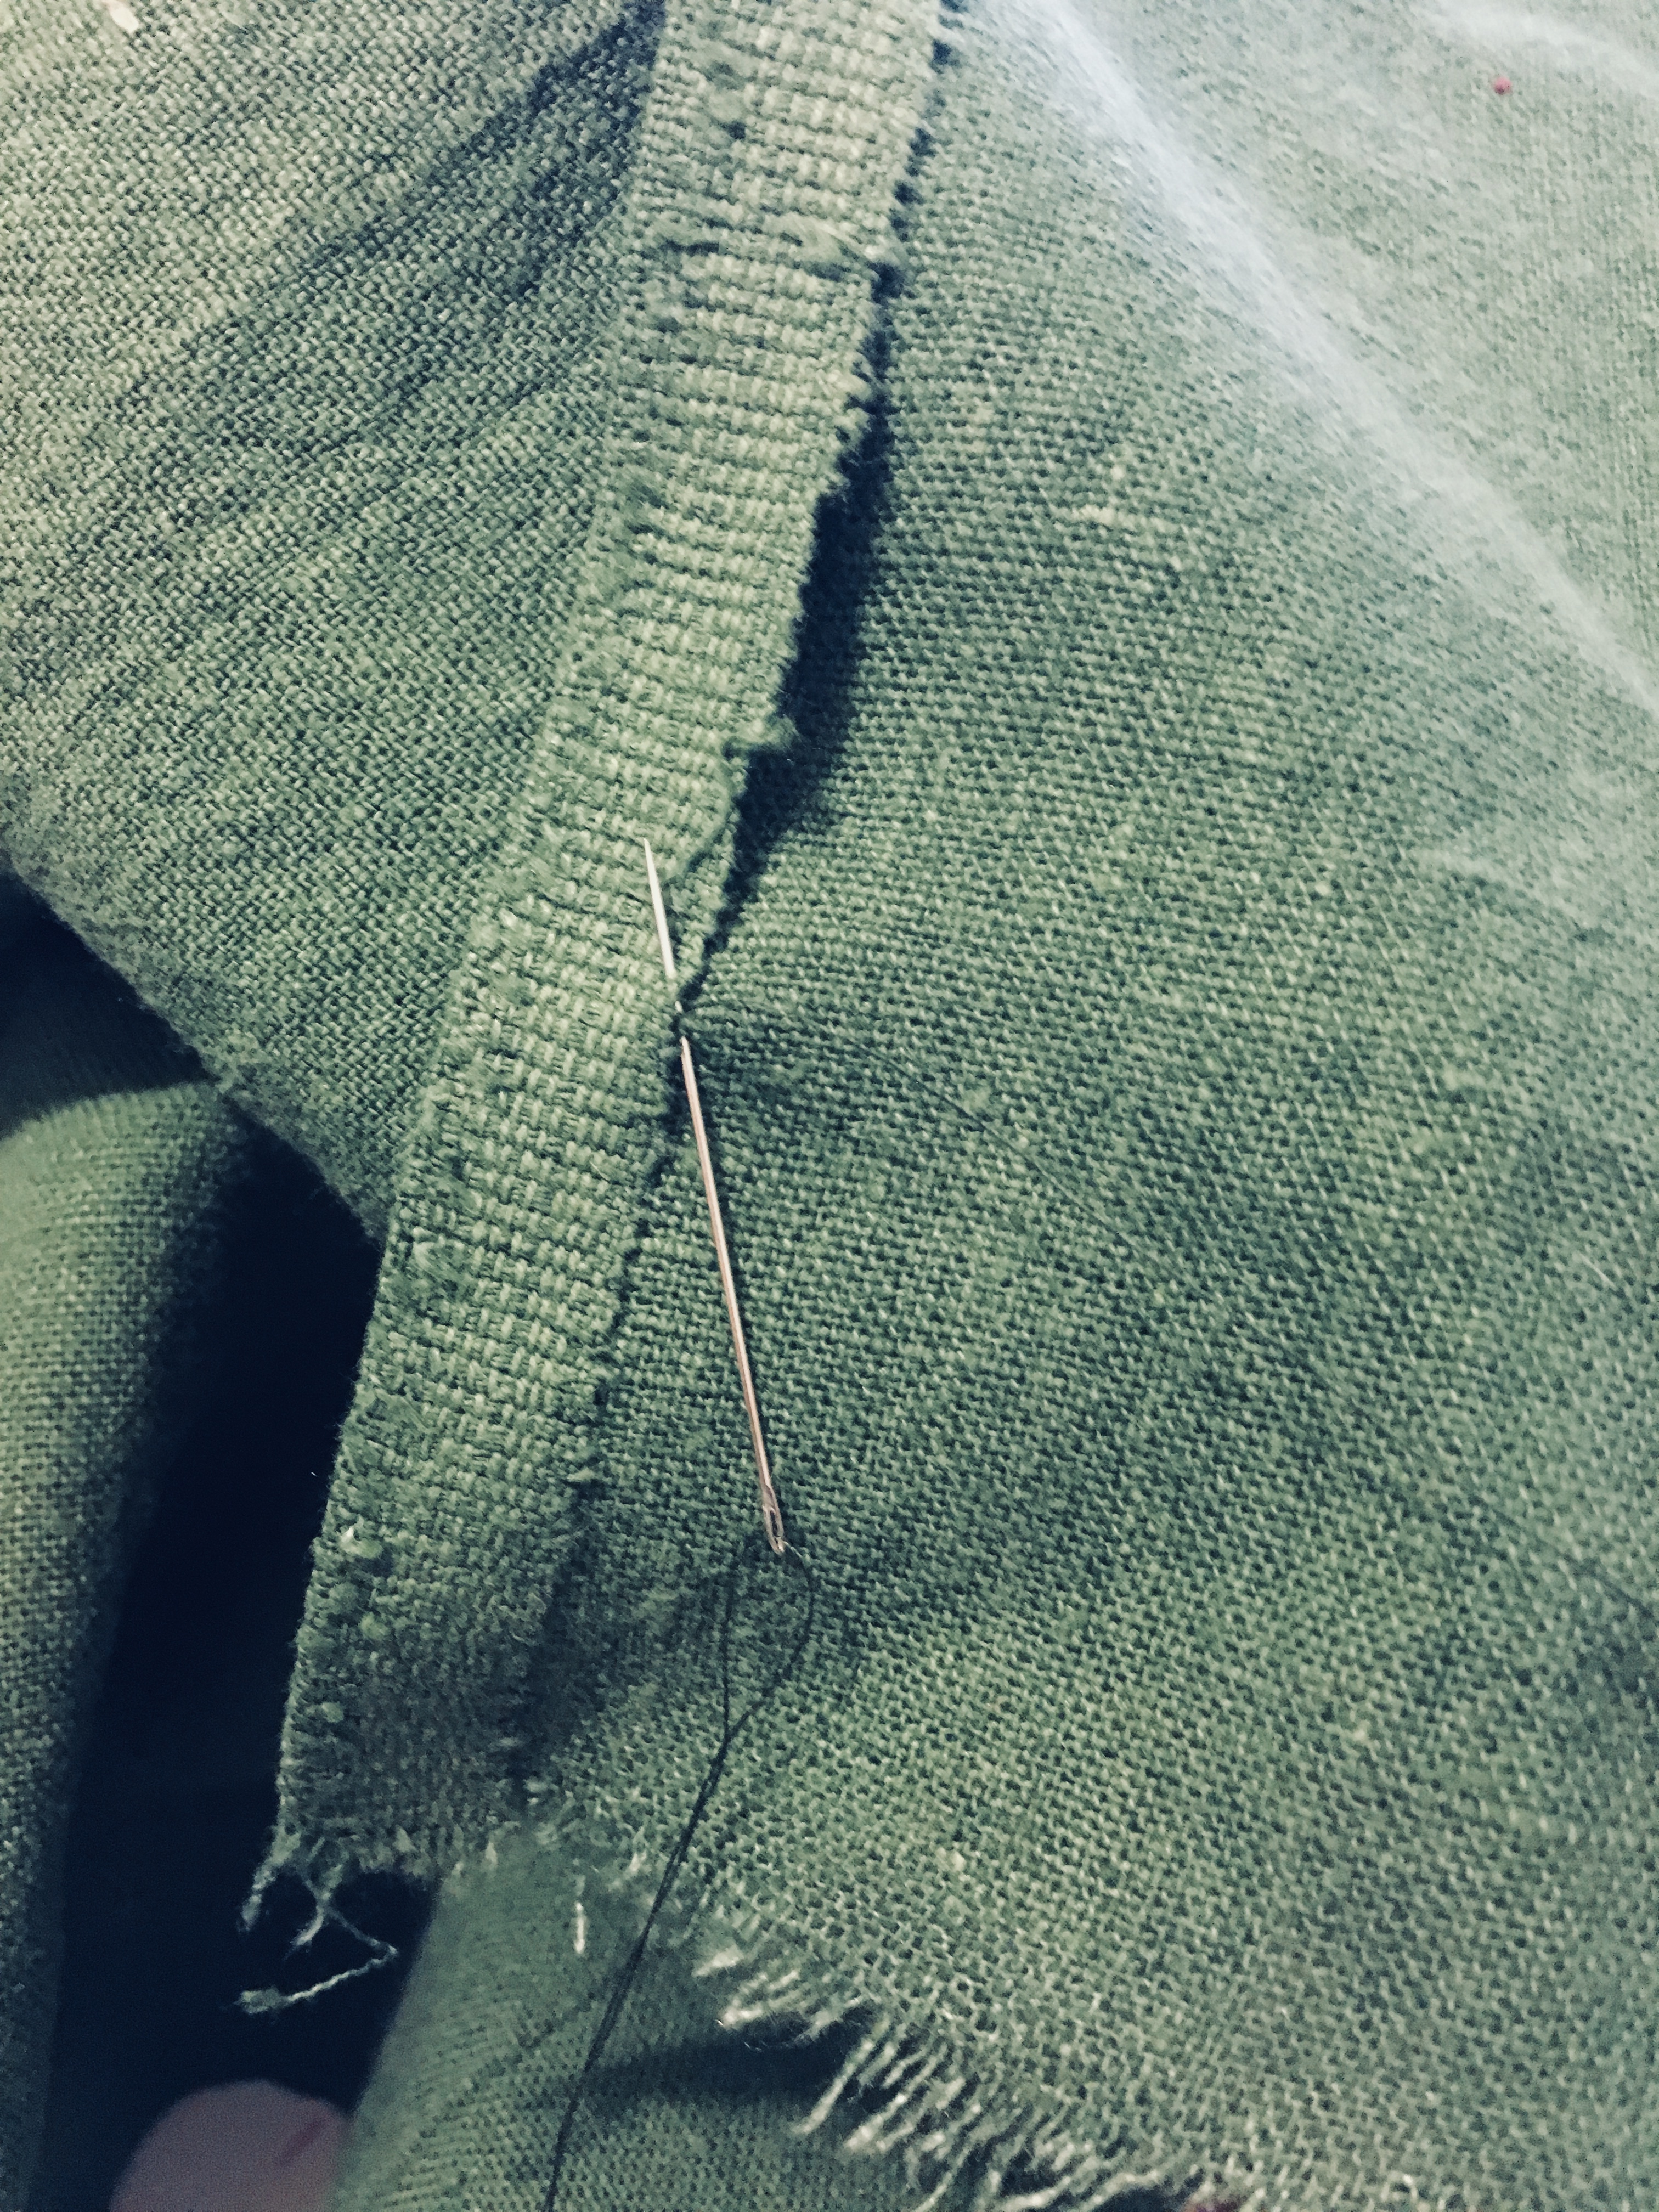
  • Limited fabric and no place for muck-ups. I got my beautiful and luxurious cashmere and wool blend soft rosy pink coating on sale for 70 percent off, once it’s cut, it’s cut and there won’t be anymore. It’s not that I couldn’t find a comparable fabric, but this particular fabric has been sold out. Thus, my need to make a muslin…
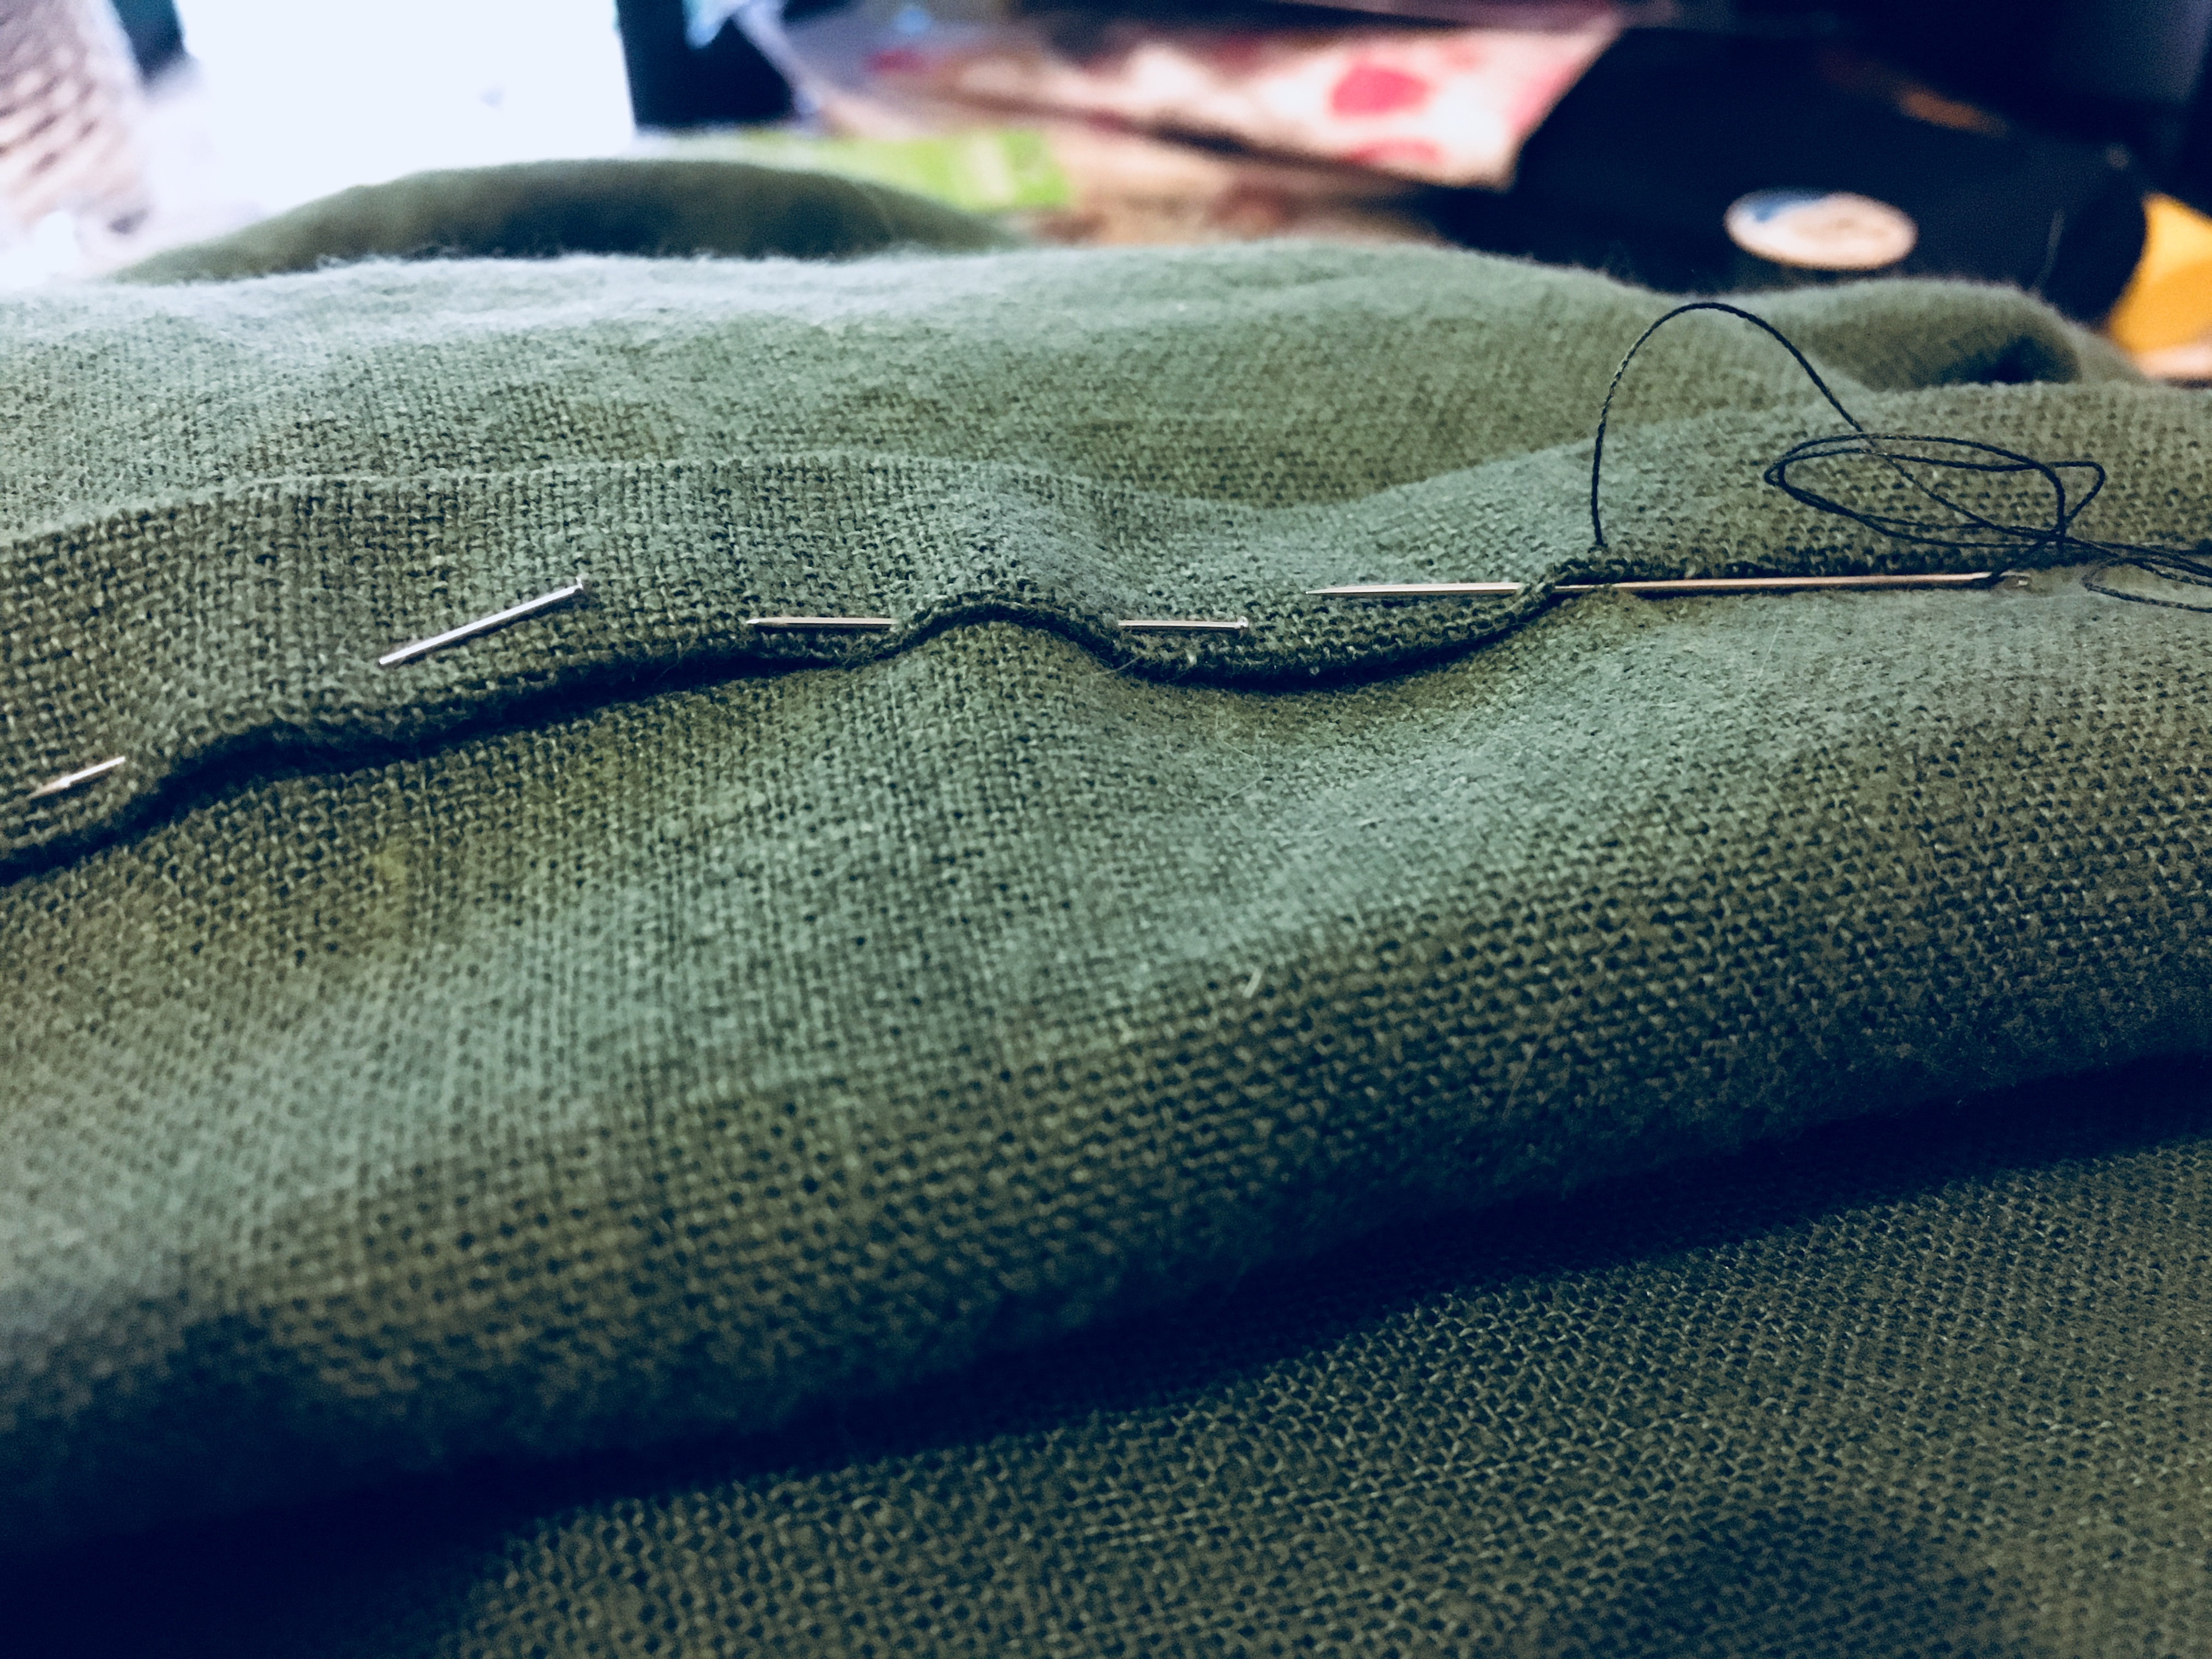
  • Bound buttonholes. I tried to make these years, no decades ago, and worse on bonded polyester double knit, which the masses now know as “scuba knit.” I was a disaster and the vest that I was making out of scarps from a jumper that my mom made never saw the light of day.
  • Keeping my swearing down to a minimum. I bought polyester bridal satin for the lining. This stuff unravels as you work with it and I forgot to buy a bottle of Fray Check. As a side note, I chose to not line the coat with the same raspberry colored lining as the original one from the show as I wanted something that would go with more than pink would. Also, it was the only thing that Joann’s had that even came close to the same color family as the main fabric color albeit it about three or four shades lighter.

Next post: Making the muslin fitting.

Posted on Leave a comment

The Infamous 1920s “One-Hour” Dress – Is it really possible?

We’ve all seen the references to a mid-1920s dress that can be made in an hour and find ourselves intrigued by the possibilities.

If you are like me, you discovered the “Miss Fisher Mysteries” on Netflix and have become enamored with this non-formula detective drama with a strong female lead.  Not only does the show feature the brilliant, smexy as all get-up, burgeoning middle-aged Miss Phyrine Fisher and a delightful group of supporting cast, but some very wearable 1920s clothes.

So now inspired by yet another television drama with fabulous clothes, the siren song of lady google-lay beckons us to comb the web for resources so we can create our own copies of her period-appropriate “Capsule Wardrobe.” [At some point in time, I’ll blog on my love-hate relationship with capsule wardrobes.]

So… sometime back in March, I had a Tea coming up. It was at one of my favorite places, which is housed in a building that was built in 1926.  And rather than wear my sad Titanic era dress and the abomination that is the hat, I decided that I would accept the challenge and attempt to make the infamous “One-House” dress and see if it can actually be done in an hour.

I raided my stash and came across some fabric that reminded me of Miss Fisher’s companion, Dorothy (“Dot”) Williams.  It’s been washed and ironed. I acquired a pattern, printed it, and read through it, measurements were taken.  And as soon as I can get to my sewing room the clock will start ticking.

This is going to be fun!

… to be continued …

Posted on 1 Comment

ADBP – Basic Under-Petticoat Review

When you start a new project, you always want to start with a review of the foundational pieces: corset, petticoats, and chemises, and then you ask yourself the following questions:

  • What do I need?
  • Do I have something from a different era that will suffice or are the shaped so radically different that I need to make a standalone piece?
  • Do I really, really need to make another [fill in the blank].

In this particular case, since I’m going to be working my way through the entire book, the answer is in the form of a question, “What is the first project?”  In this case, it’s easy-peasy: it’s the first project in the book: “Basic Under-Petticoat.”

Step 1: Find myself some heavy linen.

I have some 7 oz. Spruce green, heavy-weight linen. I’ve been planning on making some Outlander cosplay entirely out of linen, and this seems like a good place to start.  I have bleached linen, but it’s only 5.3 oz. Linen and thus, not heavy enough for this project.

Step 2: Measure from my natural waist to lower calf.

I got 33 inches.

Step 3: Cut two pieces 33 inches long by the width of the fabric.

Check; trim fabric width down to 50 inches from 60 inches, for a finished skirt width of about 98 inches, check.

Step 4: Sew. By. Hand. [hashtag #HandsewingInsanityProject ]

I’m using the mantua maker’s seam on the raw edges of one of the side seams and the other I’ve used the selvage.

Step 5: err …take pictures while sewing

Initial stitching -- my hand sewing skills are a bit rusty.
Initial stitching — my hand sewing skills are a bit rusty.

I’ve played a little bit with the color temperature of my iPhone photo in a vain attempt in try and get something closer to the actual fabric.  Alas, it’s a fail.  And yes, since this is an exercise in using what I’ve got on hand, the thread is a bit too green for the fabric.

You’ve probably noticed that the edges of the fabric are offset.  This was purposefully done.  I used the mantua maker’s seam to finish the cut edge side seam.  The seam finish is very similar to a traditional flat feld seam.  The book explains it better than I can.  I will add that requires a lot of pins to neatly hold the fabric in place while you’re sewing.  I like the look of the finished seam as it is very small and very flat.  I plan on using it for my chemises and smocks moving forward as it should make the armscye gussets less bulky and thus, much more comfortable.

Tacking down the selvage to form the side opening. My stitching is looking a bit better
Tacking down the selvage to form the side opening. My stitching is looking a bit better.


I switched to a black silk thread on my other side seam.  It’s a little easier to use a single strand, and not doubled. I tried doubled thread, but it kept twisting up on itself and annoying me.

Photo Dec 08, 2 44 44 PMStitching the double-turned 1/2 inch-ish hem.  I eyeballed it and then pinned it to death, stabbing myself a few times in the process.

Adding bias tape to serve as the waistband

Adding bias tape to serve as the waistband with lots and lots of straight pins to hold it and the pleats underneath in place.

The book calls for 3/4 to 1 ” wide linen or cotton tape for the waistband.  As I did not have any, only some 1/2 ” wide twill tape left over from my last Trunk Club, and I already had other plans for it, so I used the linen bias tape I made for the 18th-century cloak class I took at Costume College 2016.  [It’s the same fabric that I’m going to be using for my English gown.  This way if the skirts slip, it won’t be quite as noticeable.]

Finishing the waistband, and using lots and lots of pins to keep the fabric in place while stitching.


Whip stitching the ties closed with a zillion little stitches.
Whipstitching the ties closed with a zillion little stitches.

Step 6: Model finished project.

Petticoat is modeled by "the chick".
Petticoat as modeled by “the chick.”


As I totally stuck at selfies of any kind and my husband was out running errands to prepare of a business trip, I popped my new finished onto my dress form that we nicknamed “the chick” many moons ago.  It’s currently padded out to fit my BFF, so it’s smaller than my measurements, hence the droopy waistband.  That extra green fabric that hanging below is a cotton blanket that is being used to pad the chick out and impatient me didn’t bother to pin up out of the way.


Step 7: Conclusion and nitpicks.

Somewhere in my bio, I believe that it states that my mother taught me how to sew as an attempt to teach me patience, and probably what the results of perseverance will bring forth when you chose to apply yourself. When it comes to sewing, I am a speedy girl. It’s one of the reasons why I own a 1/2 horse-power industrial straight machine. I just want to “getter done.” What I am going to suggest to everyone, regardless of the years of sewing under their belt, is slow down and take the time to read the instructions before launching off into the deep end.  I completely glazed over the instructions for cutting the fabric and it wasn’t making any sense until I went back and reread the cutting instructions.

All and all, this is a very easy and straightforward project.  The instructions are well written, and for the visual group, the photos are worth a thousand words.  Once you’ve mastered this project, you’re ready to tackle the next project: the English Gown Petticoat.

Posted on Leave a comment

Embracing the insanity that is hand-sewing: The American Duchess Book Project

There are days when I question my sanity, and then I remember that I’m running a fever and everything makes sense.  I started coming down with a cold when I made this earth-shattering decision: I decided that I was going to make everything in the newly published “The American Duchess Guide to 18th Century Dressmaking” book.  Some of it will be done all by hand, some it will be mostly done by machine and other concessions along the way, but all of it will be for me.

The book is nicely presented with color photos and illustrations.  The text is easily understood.  My only initial complaint is the book does not contain shifts, chemises (if you’re French), or stays (corsets).  I’ve watched the YouTube videos and heard about the time constraints and that some things had to be cut, and would be covered elsewhere like the AD blog, but how about a book on underpinnings, and just underpinnings?

For the purpose of continuity and ease for searching, the blog posts, this series is going to be referred to as ADBP with the project name. I’ll be using the Twitter hashtag #HandsewingInsanityProject

Wish me luck.

Posted on Leave a comment

Costume College 2017 — The Shawl from Hell

As part of my personal continuing education and need to keep my brain alive by learning new tricks, I’ve taken up knitting, and not just any knitting, hand-knitting lace.  Because I don’t have enough things to drive my insane.  Anyways, my neurologist signed off on the idea as being a good one and gave me her blessing to proceed.  And ultimate truth be told, I fell in love with all the knitty bits that Claire wore on Outlander and had to have them …and the only way to get them was knit them myself.  Fortunately, Lion Brand carries the official Outlander kits.

As my current skill level is slightly better than a novice, there is a whole lot that I simply do not know, thus making any project that’s beyond knitting the 4th doctor’s scarf is new and has a steep learning curve.  I’ve ripped it out at least 5 times now because it’s such a simple pattern, it’s easy to get confused.

mohair-shawlMy chosen project is a Lady’s Wrap circa 1961.  It’s to go with my lavender silk cocktail dress for the Friday evening cocktail party.  According to the lady from whom I acquired it from on Etsy: “This pattern is from Bear Brand and Fleisher Yarns Hand Knit Mohair Fashions Vol. 55, from 1961….”  I invite you to check out her Etsy shop: Vintage Knit Crochet.  There are lots of good things to recreate there.

The yarn in question is Patons Lace yarn and the color I’m using what they call “Plum Smoke.”  I got it at Joann’s, on sale, before I even knew what I wanted to make because I loved the soft heathery deep lavender color.  So when I decided what I was planning on making clothing wise, a wrap for a sleeveless lavender silk cocktail dress seemed natural.

I decided to take a break and write up a little something on this project before I go bonkers and rip it out yet another time.


Save

Save

Posted on Leave a comment

What the Dickens?

I’ve always wanted to go to a Dickens Festival and could never make it up to San Francisco to work let alone visit the annual event that is still put on by the same folks behind the original Renaissance Pleasure Faire.  I do not even remember how I found it — I may have been searching Steam Punk — but I found one that in held in Riverside, CA and in February.  Since it was only just a weekend event, I thought I might be able to get pastoral dispensation and work it, so I volunteered.  Then, I realized that I literally did not have a thing to wear, except for a pair of brown tights.

Here is my list:

My patterns are split between two companies: Past Patterns, whose patterns I’ve worked with before and will need to grade up a couple of sizes, and Laughing Moon Mercantile for the first time.  Their patterns go up to size 34, which is larger than I actually need.

Chemise: Past Patterns: # 717 — Tucked Chemise, circa 1850-1860, purchased via amazon.com.  I found some really awesome paisley eyelet fabric for the body at joann.com and some interesting eyelet trim from Korea on etsy.com.  The fabric washed up beautifully and is both delightfully semi-sheer and soft.

Petticoat and Drawers: Past Patterns: # 706 — Mid-19th Century Petticoat & Drawers, circa 1860-1870, purchased via amazon.com.  I found some very reasonably priced border eyelet fabric on fabric.com in white for both and denim blue for the top petticoat.

Corset: Bijoux Pattern Co. (they’re a division of Laughing Moon Mercantile) Ladies’ Victorian Corset #1.  I picked this one because it’s got more seams and should be easier to make the necessary sizing adjustments.  I’m also going to make this in a light khaki-color 5.3 oz linen that I have in my stash.

Day Dress (wrapper style): Laughing Moon Mercantile 120# — Pleated Wrapper/ Word Dress.  I found a cream background reproduction print for it at twobeesfabric.com

I also have a ballgown pattern and hoops and bustle pattern, but since I won’t be going to the ball, I won’t be making them for this go-round.

Posted on Leave a comment

Tudor kirtles and petticoats

Intro: The Tudor Tailor’s Patterns for Tudor kirtles and petticoats

I am still in the midst of writing my historical romance novel and have hit that crossroads where I have run out of original Renn Faire character story arc and the proverbial wall. So I decided, “Hey why not make yourself a costume and go to some local faire and be your female protagonist again and see where she takes go.”

So I’m going the Nottingham Festival …. in a month …from yesterday. It’s the last local faire until the spring and will tie in nicely with the timing of #NaNoWriMo which starts on 11/1. No pressure. Since time was of the essence, rather than draft my own patterns because I have to start from the ground up, I chose to go with The Tudor Tailor’s Tudor kirtles and petticoats pattern. I bought the pattern a couple of years ago and it’s been sitting around calling to me.

The fabric of choose is asphalt grey 5.3 ounce linen that I also acquired two years ago. The sleeves may or may not be made in either willow or natural linen, it depends on our capricious weather.

More to follow …

Posted on 28 Comments

Simplicity’s 2621 16th Century Underpinnings: Farthingale review

First of all, I want to give props to Simplicity; they’ve really stepped up their game over the past 15-20 years with their period patterns.  I’m sure it’s part whining from costumers like myself about inconsistencies and their marketing and R&D  people telling the higher-ups about such sites as Reconstructing History and the plethora of period patterns.  Or then again, it could be the success of The Tudors, which I have taken the first season to task for their costuming choices here.

The pattern pieces are very, very close to those in Juan De Alcega’s Tailor’s Pattern Book 1589.  In fact, it’s close enough for me never to try to draft a farthingale from De Alcega’s book again.  I’d really prefer to use my own tried and true, and Renn Faire tested pattern from Janet Arnold’s Patterns of Fashion, but time is of ye ole essence, so I’m making do with what I have readily on hand.

The only changes that I recommend making are:

  1. Make life easier on yourself, and do not sew up both side seams until after you sew on the casing for your hoop wire unto the right side of the fabric, stopping about 2-1/2 inches from edges on both sides. [picture below]  After the hoop wire casings are sewn in place, then sew up the remaining seam, remembering to leave an opening as shown on the pattern.Photo-0266
  2. Why do step #1? It is much easier to pull the hoop wire out and re-insert it for washing, and any Rennie worth their weight in, um… well, they know that after a season of Faire farthingales need a good washing and unless you’ve used the plastic-coated hoop wire and have some way to hang the silly thing up, it’s just a lot nicer to be able to throw it into the washer and dryer, I’m just saying.  (Also, now that I’ve used it, not a fan of the plastic-coated hoop wire, too flimsy for anything other than lightweight fabric, which this is for.)
  3. Spacing: if you plan to wear a heavy, jewel-encrusted velvet Noble’s gown, you will want to space your rows of hooping closer together.  I recommend 4 inches rather than the near 6 as laid out on the pattern.  Remember, the more hoop wire, the more stability, and the less likely that your new farthingale will collapse under the weight of your gown.
  4. Cut your hoop wire about 12 inches longer than recommended on the pattern and either use the little metal caps in the cut ends that are sold for this purpose or use the lazy girl’s choice to wrap the edges with a waterproof piece of bandage tape.  This will allow enough extra hoop wire for overlap, and the extra gives you something to grab hold of when you are extracting said hoop wire for laundering and repair.
  5. Number your hoop wire.  After you’ve cut it, use a Sharpie or other brand of permanent marker (color of your choice), and on the backside, write the row number on it.  it will make life so much easier, especially if you are doing this at 3 AM. [Yes, I speak with first-hand knowledge on this, so just trust me.]
  6. Pre-wash both your fabric and twill tape — cotton and linen both are notorious for shrinking more than you would suspect, and nothing is more frustrating than finding out something is now four inches too short (or too small), and there’s nothing that can be done about it.
  7. I suggest using a 3/4 or 1 inch rather than the recommended 1/2 inch wide twill tape on the pattern envelope.  Again, nothing worse than having the odds stacked against you before you’ve even started threading the hoop wire through its casing.
  8. Also, good a better quality fabric than the $1.99/yard muslin special.  For personal costumes, I have “re-purposed” solid-colored bedsheets when I’ve up-sized our mattresses.  A good quality percale top sheet can take the abuse and still give you many years of use as your farthingale base.
  9. Let your farthingale hang overnight or a week if time (and environment) allows before hemming it, putting the last hoop to allow the fabric to stretch itself out naturally. This way, there is no surprise “growth spurts.”

Now, will I use this pattern again? Maybe, maybe not …I haven’t decided yet.

Would I recommend: surprisingly: Yes.  It will serve its country well.

Posted on 5 Comments

14th Century Commoners – part 1

The assignment: 14th Century peasant clothes for a “couple of guys who will be out digging in the dirt” for period piece.

I dug though my fabric archives (“stash”) and pulled out several pieces of unbleached 5.3 oz. linen and both large and small pieces of hunter green, reds and what I call mouse-brown, but if memory serves the retailer called it “tobacco.”   I also pulled out about 5 to 6 yards of a prewashed chocolate brown wool flannel and a 5 yard piece dark gray tweed that had flecks of blue, rust, taupe and tan; a piece of unwashed rust flannel and unwashed black flannel; some odds and ends of a light weight, bright  finally and prewashed “popinjay blue” wool crepey flannel.  [Yes, I really did have all of that my stash … and then some.]

Since time was of the essence, rather than draft my own patterns, I chose to go with a Reconstructing History pattern — RH004: 12th through 16th Century Peasant Man’s attire.   I’ve had the pleasure of working with this company several yeas ago and beta tested a couple of her early patterns.   I trust scholarship that goes into every pattern, although I have disagreements with construction instructions, but that’s probably more due to the fact that I almost exclusively use an industrial straight-stitch machine and avoid handwork where possible (well, these days anyways because of the carpal tunnel) and the charming and lovely Kass has put entire period ensembles together by hand, for which she has my never-ending admiration.

The Shirt: As this pattern covers the basics for 12th through 16th I chose the early shirt option, which has a modest center front and back gore.  The construction is fairly simple, and once you’ve made the first one and worked out how to assemble it, you can easily put one together in 3 to 5 hours.

Notes: If you choose to the tapered sleeve option, unless the gentleman who will be wearing it has smaller hands you will need to leave the bottom 3 inches of the sleeves open and use some type of closure (I used wooden beads and made loops with pearl cotton).  Make sure you transfer the marks before you start sewing; it will make it easier all around.  Attach the gore to the sleeve and sew the underarm seam (think set-in sleeve) and then sew the sleeve to the flat shirt rather than sewing the flat sleeve to the flat shirt pieces — much much easier.
The shirt and the tunic are essentially the same construction, the exception being gores.